FREE
“The thing about drawing Neurographic art is that it changes things. Changes the way you see, the way you feel, the way you respond. It is designed to do just that–alter your habitual thought patterns, your reflexive emotional responses. And it isn’t just you that changes, it is the world itself. Because now it is seen in a new way, as if remembering what is true.”
Neurographic Art Activity
A mindful, creative journey into emotional transformation
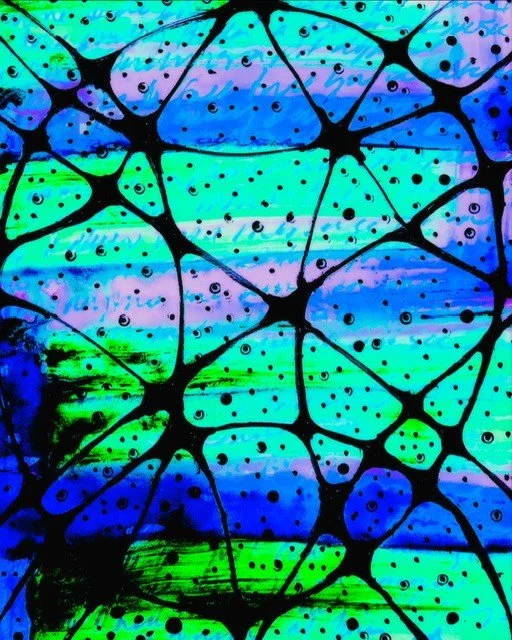
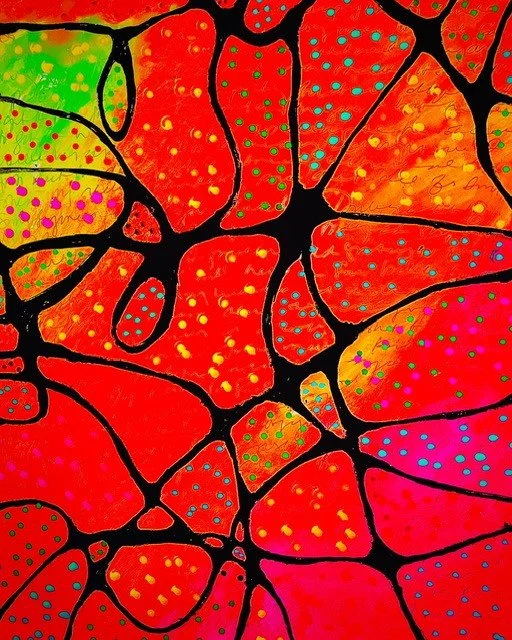
What is Neurographic Art?
Neurographic Art was created in 2014 by Russian psychologist Pavel Piskarev as a unique process for personal and collective transformation. It is believed to engage emotional intelligence, activate new neural pathways, and support resolution of internal challenges. By combining art and mindfulness, we stimulate the brain, boost focus, enhance decision-making, and open space for healing and insight.
This practice can reduce stress, process emotions, quiet the mind, and explore the subconscious—all through intuitive drawing.
Materials
Required:
Black Sharpie Ultra-Fine Tip Marker
Black Sharpie Fine Tip Marker
Mixed media, watercolor, or other sturdy paper (waterproof if using watercolors)
Optional:
Artist, painter’s, or masking tape (for clean borders)
Colored pencils, markers, crayons, or watercolor paints
Steps
Set an Intention
Begin by closing your eyes and taking three deep breaths. Let your body soften.
Gently bring to mind a challenge, discomfort, emotion, or intention. You may:
Write it on the front or back of your paper
Journal it out
Think about it silently
Let calm music play, if you like. Try the 4-7-8 breathing technique:
Inhale for 4 counts, hold for 7, exhale slowly for 8
A natural tranquilizer for the nervous system
Tape the Edges (Optional)
Use tape to create a clean border. Stick it first to your skin or clothing to reduce adhesive strength and protect the paper.
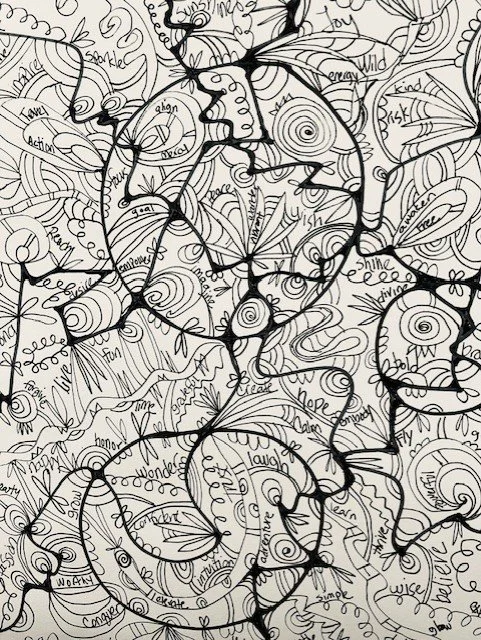
Draw Intuitive Lines
With the fine tip marker, create a freeform, intuitive scribble.
Begin and end your lines at the edges of the page.
Add as many lines as you like until it feels visually “full.”
Optional: Add a simple geometric shape (circle, triangle, square, etc.) layered over the lines.
Round the Intersections
Using the ultra-fine tip marker, round out every place where lines intersect or touch.
This is a key step in neurographic art—it softens tension and brings flow into the drawing.
Add Color or Pattern (Optional)
Use any medium you’re drawn to: crayons, watercolor, markers, etc.
Choose colors based on feeling or intuition—there is no wrong way.
You can also fill sections with patterns, textures, or words instead of color.
Reflect
When finished, pause and reflect on your experience:
What emotions or insights came up?
Did anything shift in your body or mind?
What surprised you?
How do you feel now?
Further Exploration
Watch this short and simple Neurographic Art Tutorial: Mindfulness In Art by Bethany Thiele, Art Teacher
For even more information about the value of Neurographic Art check out Anton Piskarev’s website: Neurographica - Draw, Find Balance, Manifest Dreams
Anton even has a spotify playlist while you create: Neurographica Official